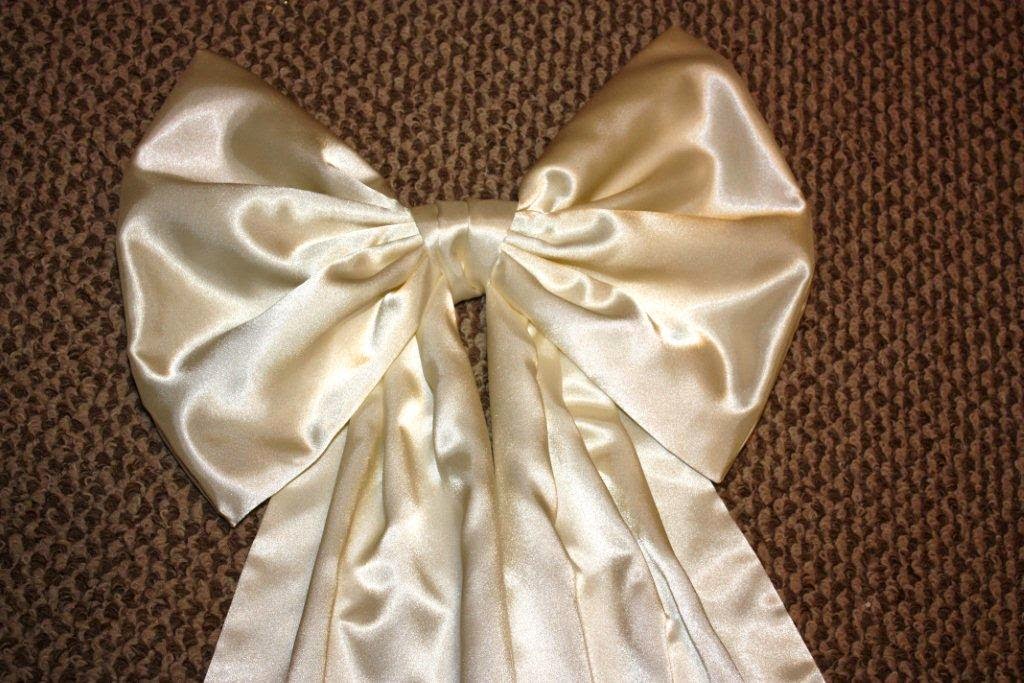
I am making
pew bows for a woman whose daughter will be getting
married
next May. Here is the first one; there will be 12 altogether.
They are
made of ivory Slipper satin.
People have
asked for instructions to make
these bows, so here they are.
I will give
the dimensions I used; you can adjust
the size
according to your bow's purpose.
Lay
together two pieces of 30" x 19" satin,
right side
to right side.
Put a
piece of netting atop the satin.
Use two
pieces if a stiffer bow is desired.
Pin
well, especially if using fabric that slides easily.
This material wasn't named 'Slipper satin' for nothing!
Press seam gently. Polyester satin should be pressed on
second-to-highest setting, and can be steamed.
Turn right side out.
Match seams.
Match seams on other side.
Pin
together netting-lined satin.
Find middle of satin.
Pin
satin, leaving a gap at the middle to turn it.
Turn right side out.
Turn so that netting-lined fabric is to the outside.
Iron seamed edges gently, making a soft crease.
Iron back of bow.
On
right side, mark center of bow from top to bottom.
Pleat center of bow through all thicknesses, putting
needle and thread through base of pleat.
Make a small anchoring stitch after each pleat.
Make three more pleats above center pleat.
Turn bow around and complete three pleats on opposite side of center pleat, bringing needle through all thicknesses.
Make a couple more passes with needle and thread
through all thicknesses.
Now
we're ready for the streamers. These are 42" long, 12"
wide, and pointed on one side.
Always cut the selvedge from your fabrics; this edge is
more tightly woven and will possibly shrink more
in
the wash, causing your sewn item to pucker.
The
pointed side of the streamer is 8" longer.
Line with one layer of netting if desired. These streamers are
not lined; they need to drape gracefully onto the floor.
Take care not to stretch the biased edge, or it will ripple. Trim the point closely before turning.
I
put a dot of fray check at the point.
Turn the raw edges at top of streamer to the inside
and
topstitch close to edge.
Showing off my trusty old Bernina's perfect stitch:
Pleat streamer top evenly with pleats going to the outside.
Sew
pleats down. Careful; it might be too thick for
your sewing machine. I turned my handwheel by hand over the thickest parts.
Overlap streamers, making sure points are hanging as you want
them to. Sew to back of bow, slightly above middle.
Make knot from a piece of satin 8" x 10". Fold in half so
that knot is 8" x 5". Sew, leaving one end open.
Turn to right side; topstitch end shut.
Sew
knot to back of bow just below top edge of streamers, gathering slightly.
Bring knot under bow, between streamers,
and
up across the front of the bow.
Create pleats as you pull knot across front of bow.
Pin
edge down and sew in place.
That's it, you're done!
Nothing left to do but to
stand back and admire it.